When you are making a circumferential splint, you do not need to use a thick thermoplastic. For this splint I have used a 1.6mm thick microperforated Turbocast. I like the different colours it comes in and as it has a coating on it, it does not tend to get as hot as the more shiny thermoplastics. Saying that, I commonly also use Orfit Classic for this design.
As this splint is for a child, I would definitely not go any thicker than 1.6mm and I would stay at this thickness for many adults too. For larger hands I would go up to 2mm thickness and maybe 2.6 for a very large, strong hand.
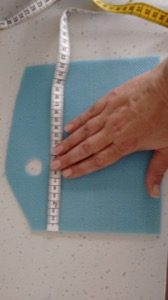
To start off, I measure how long the splint needs to be (roughly) and cut out a square. I then prepare the patient and make sure I pad the ulnar styloid, to avoid any uncomfortable rubbing in from the splint.
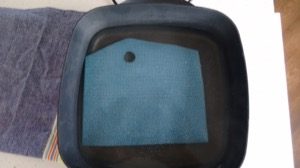
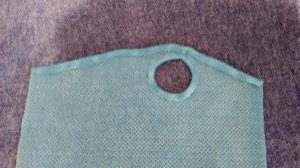
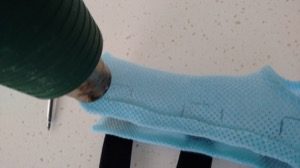
Once I have prepared the patient, I cut the thermoplastic into a slight cone shape, a bit off centre, and cut small hole about 3 cm below the tip of the cone. Don’t make the hole too big as it will stretch! I made this one approximately 2cm. For an adult you may want to up to 3 cm in diameter. Place the thermoplastic in the water to heat up, remove from the water and fold the edges around the thumb and distal ends. Put back in the bath to reaheat and take back up.
Now place the thermoplastic on to the hand and give it a slight stretch around the forearm. Pinch the edges together and mould the palm until set.
Once set, undo the pinched area and take off the splint. If you are using a sticky thermoplastic (Orfit Classic or Aquaplast), make sure not to pinch any larger area than you need to as you may find it hard to undo!
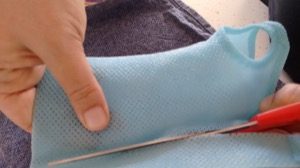
Cut the edges; On one side, cut the edge where to fold is, on the other side, leave approximately 5mm of the folded edge. These edges will be dipped into the water and be folded back. Cutting it this way will leave a little bit of a gap, which will give the splint a nice, snug fit. You may also want to dip in the proximal end of the splint and just flare out the edge to prevent any cutting on.
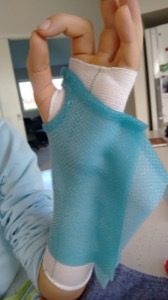

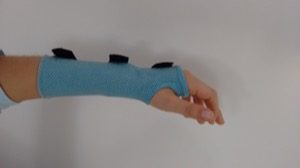
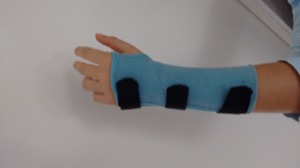
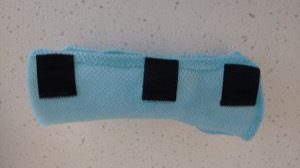
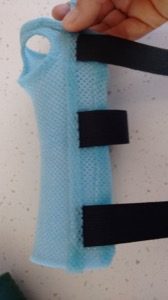
Now you have the splint made. Now on to the velcro. With Turbocast, you have a little bit of extra work to put on the velcro, due to the “fluffy” surface. For other thermoplastics you may just need to dryheat the plastic and press on the velcro.
Here is how to do it for Turbocast:
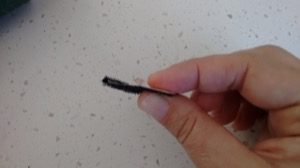

For the hook velcro, fold in approximately 2mm of one side, dryheat the thermoplastic suface where the folded side is going to be (without over heating it! A smaller heatgut is easier!). The key is to give it a short spurt and stay close to the thermoplastic, to avoid heating up a too large of an area. Now work the hooks in very well into the thermoplastic, using your thumb nails. You want the hooks to kind of mound in with the thermoplastic.
For the loop part, this is what you do:
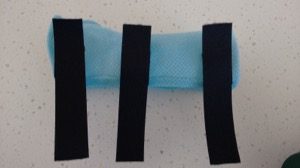
Cut three pieces of loop veclro and attach it to the hook. Place the splint on the patient and mark out where the velco will attach. This way you will get the right angle of the loop straps and it will fit nicely. Take the splint off the patient.
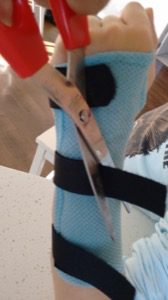
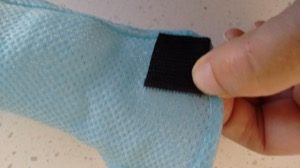
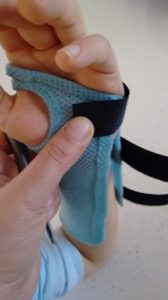
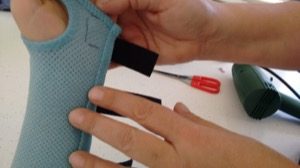
Now dry heat the area where the loop is going to be attached. Again, work it in well with your thumb nails. To reinforce the loops I like to dry heat a strip of Turbocast and place it on top of the ends. Again – work it in! Put the splint back on the patient and cut straps to fit.
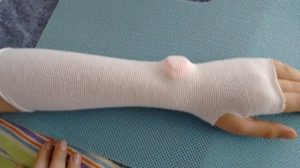
Done!