There are many designs of Mallet splints to treat drop fingers, but this is my favourite. Patients like them, they are easy and cost effective to make, they stay in place and allow for fluctuating swelling, common after injury.
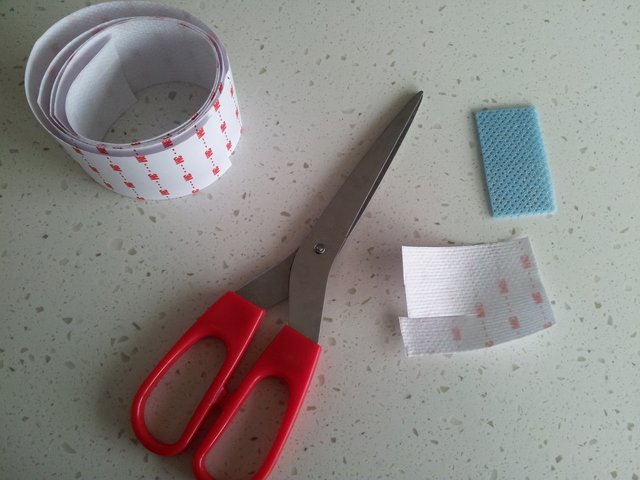
To make these splints you need:
- Scissors
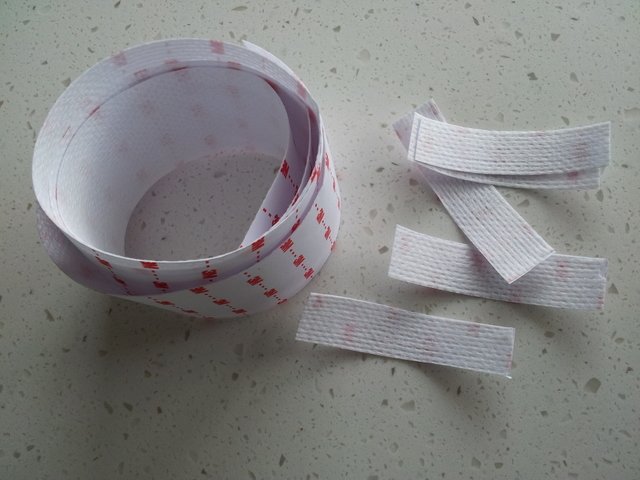
- Thin thermoplastic – I used 1.6mm Turbocast, but Orfit, Colourfit, Aquaplast or similar will work as well. The reason I like to use Turbocast is that is has a thin “furry” film on it, which allows some ventilation with less risk or maceration of the skin underneath. But just use off cuts of whatever you thermoplastic you can get your hands on for these small splints.
- Tape – Make sure it is non elastic. I made sure to cut this skin friendly tape length wise, which is the non-stretchy direction for this tape. Otherwise, any sports tape will work well too.
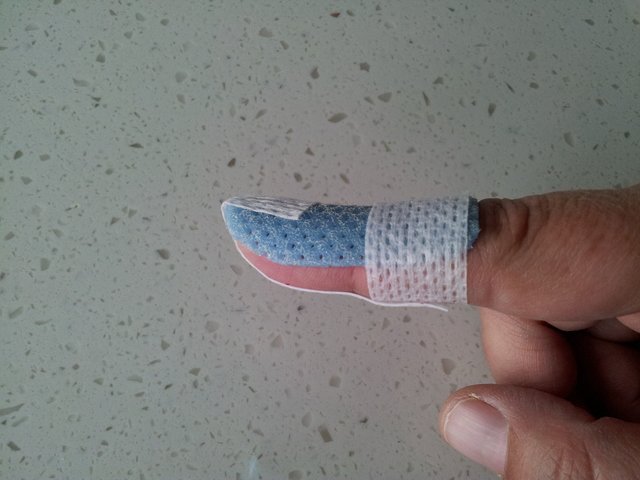
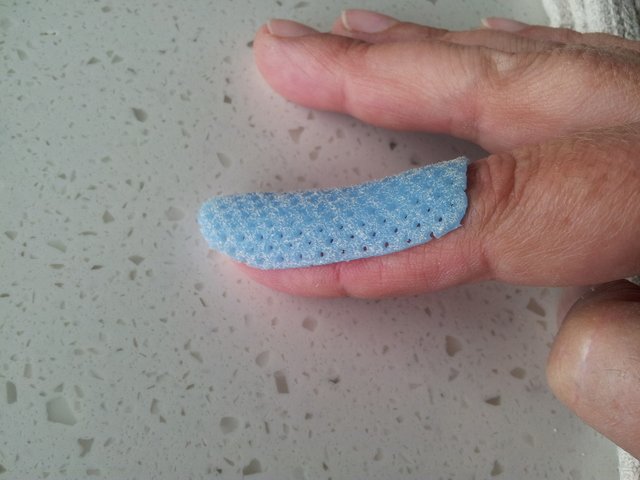
Cut the thermoplastic to fit the finger involved. Ensure that it does not cover more than halfway down the thickness of the finger, to allow for a snug fit. Less than halfway and it will not be strong enough. Heat and mould on the dorum of the finger. (Ensuring a good fit around the nail bed helps). Length wise it should finish just by the PIP joint, still allowing for PIP joint movement.
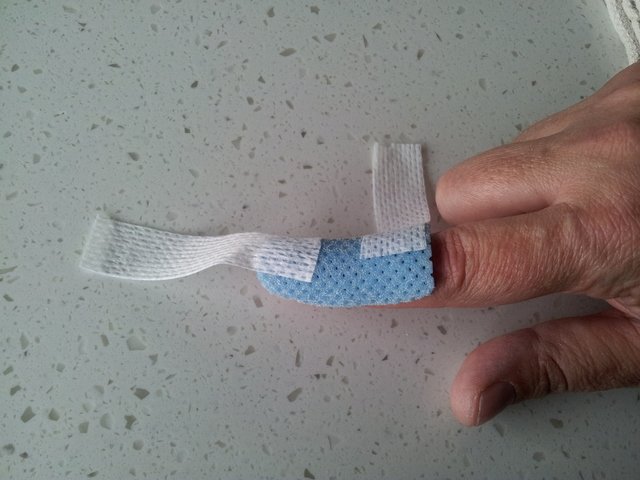
Next, apply tape to anchor the splint, starting off with the most distal tape, followed by the most proximal tape. Ask the patient to keep the finger tip on the table to avoid bending the DIP joint. Alternatively, the finger can be taped underneath the splint to begin with, to help keep the DIP joint in extension, and also to protect the skin under the splint.
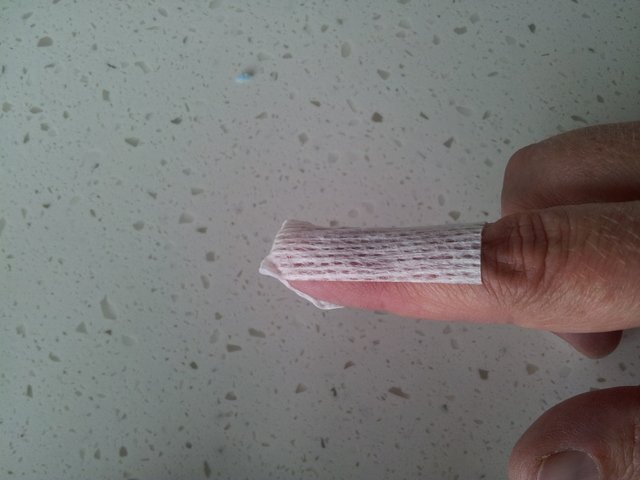
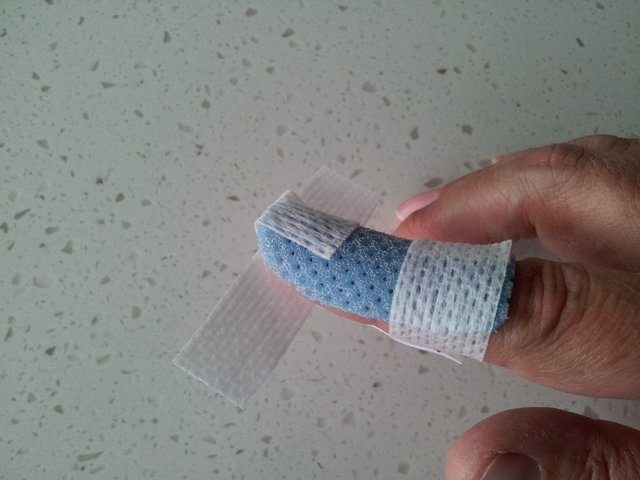
Lastly apply the “bonus” tape on on the volar aspect of the finger tip, to ensure the splint stays on really well and the DIP joint is in full extension or slightly hyperextended.
That’s it! Easy as that.
Encourage your patient to keep the finger dry, and if it gets wet, to take it off and dry the skin. Leaving the splint on wet can really get it mucky!
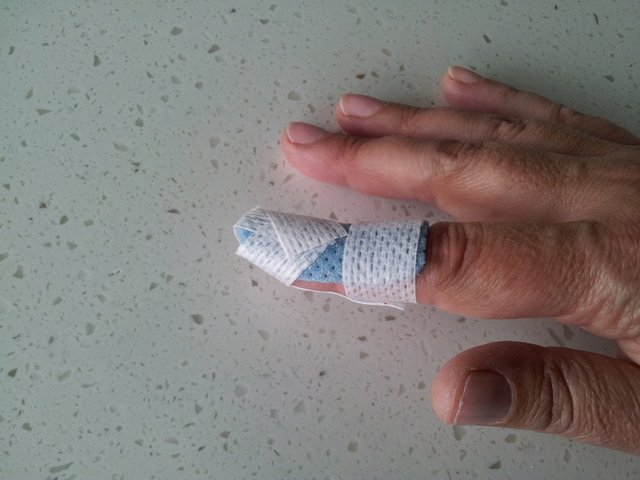
The tricky part is to not bend the DIP joint for a few weeks while the tendon heals. Here is a pic of how to tape the finger under the splint, or after splint treatment, as an interim light support.